An Overview of The Scrivener Binder
The Binder is one of Scrivener's most powerful features. If, like me, you've ever struggled to organize all of the files and folders related to your work, you're going to love all that the Binder has to offer. Its easy interface allows you to import, add, organize, and rearrange any and all documents related to your entire project — all without leaving the program.
To learn more about how to make use of the Scrivener Binder, check out today's video lesson and transcript below.
(Note: This video lesson uses Scrivener 3 for Mac. Features & interface details may vary if you’re using a different version.)
Welcome back to Storytelling With Scrivener, writer. (Note: This course is retired as of January 2024).
In this video, we’ll be breaking down an overview of your Scrivener Binder, a feature we’ve mentioned in several of our past video lessons — if you’ve been working through them in chronological order that is — but that we haven’t yet reviewed in depth.
If you’ve watched our first course video on Creating Your First Scrivener Project, you’ll know that the demo project we’re utilizing as an example throughout our course is operating on the Novel template. If you selected a different template when creating your Scrivener project, the default files and folders in your Scrivener Binder may look a little different.
All Scrivener Binders function in the same manner, however, so let’s take a look:
#1: Opening The Binder
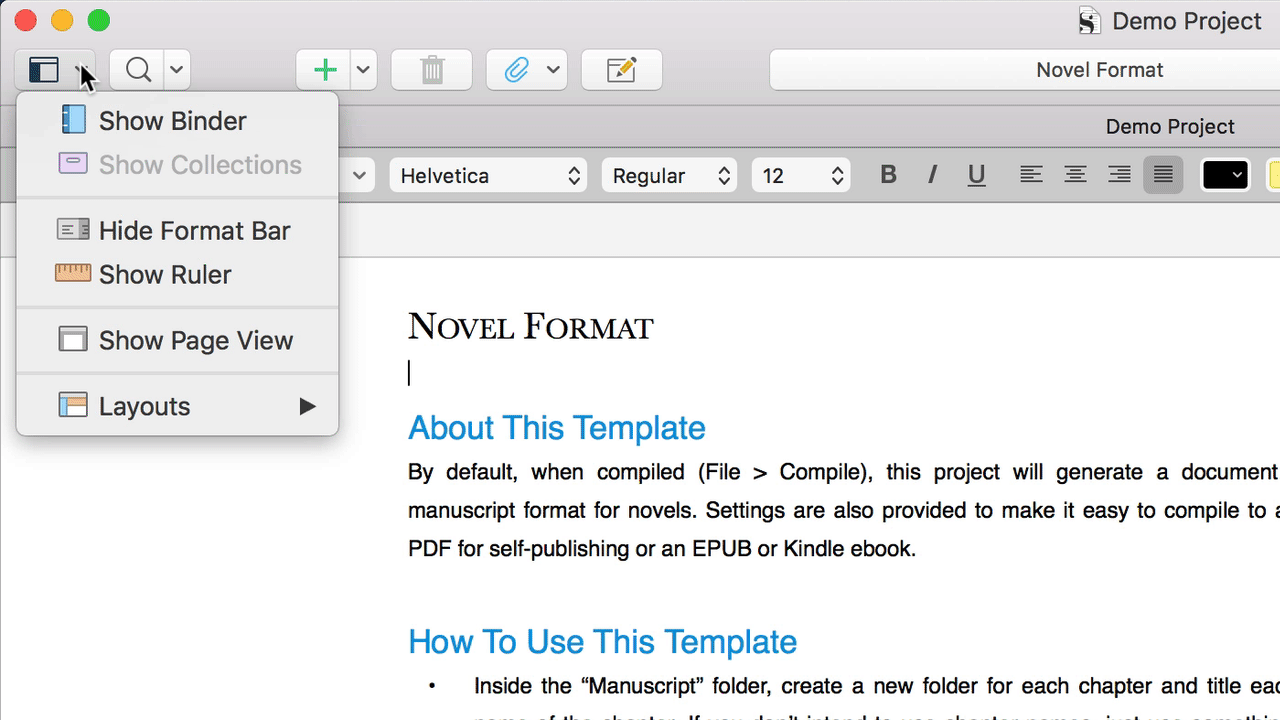
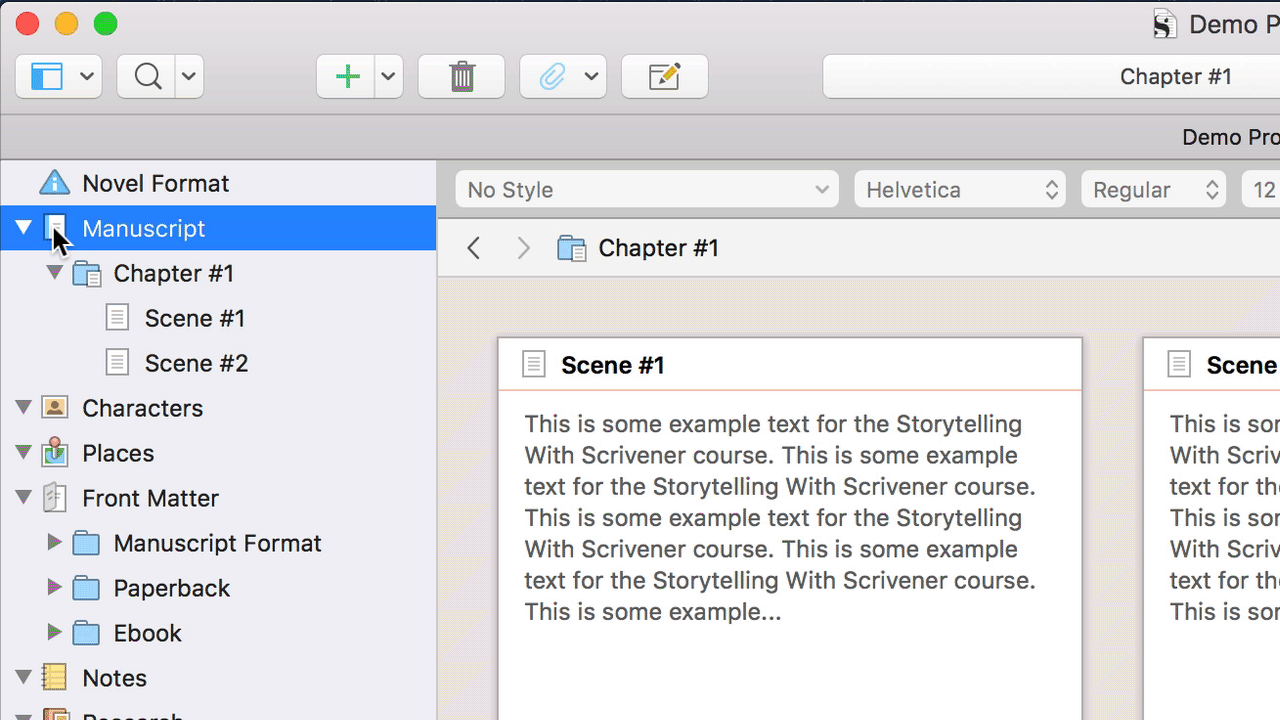
Firstly, let's quickly rehash what the Binder is. It appears as this left-hand column here on your screen.
If you don’t see it on your own Scrivener project, you may currently have the Binder hidden. To make it visible, select the dropdown menu on this Hide and Show icon in your Toolbar, then select the Show Binder button — the first in the list.
With your Binder now visible, you’ll notice that it consists of a series of documents and folders.
Unlike other word processors, which only allow you to view one file in your window at once, each Scrivener project can house many documents and folders within itself. This allows you to easily switch between these documents and folders, and even to view multiple at once as I’ll show you how to do in a future video in our course.
All this easy organization is really one of my absolute favorite Scrivener features. I make so much use of the Binder in my personal projects. So, let’s talk more about it!
#2: Deleting Documents From the Binder
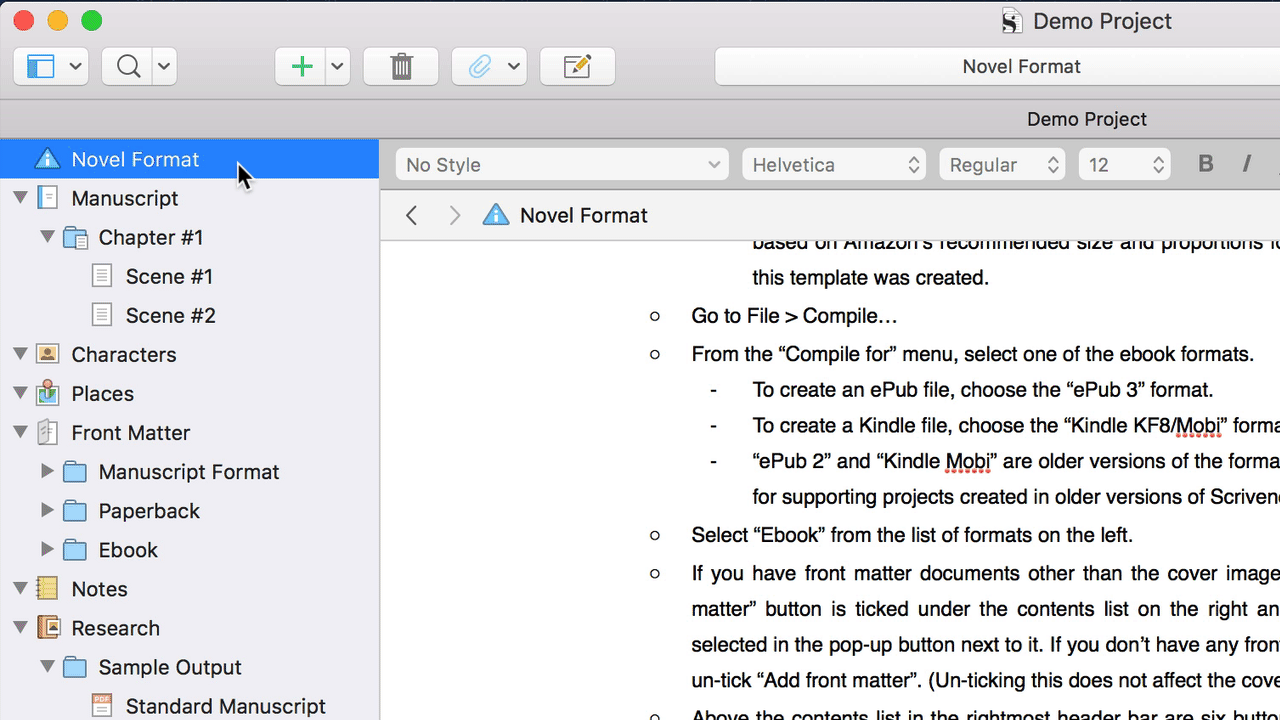
Now, let’s take a look at what’s currently in our Binder. Remember, your Binder may look a little different if you’re not using the Novel project template or if you’ve already begun adding and deleting certain documents, folders, and so on.
At the top of our Binder, we have a single document called Novel Format. This is an informational document that explains what makes the Novel project template unique from other project templates. We’re not going to work through all of this information now, but do feel free to read this document on your own time.
If you find you don’t need it, you can delete this document at any time from your Binder by highlighting it in your Binder and clicking the trash icon in your Scrivener Toolbar or by clicking and holding the document’s icon and dragging it into the trash folder at the very bottom of the Binder.
#3: Renaming Documents In The Binder
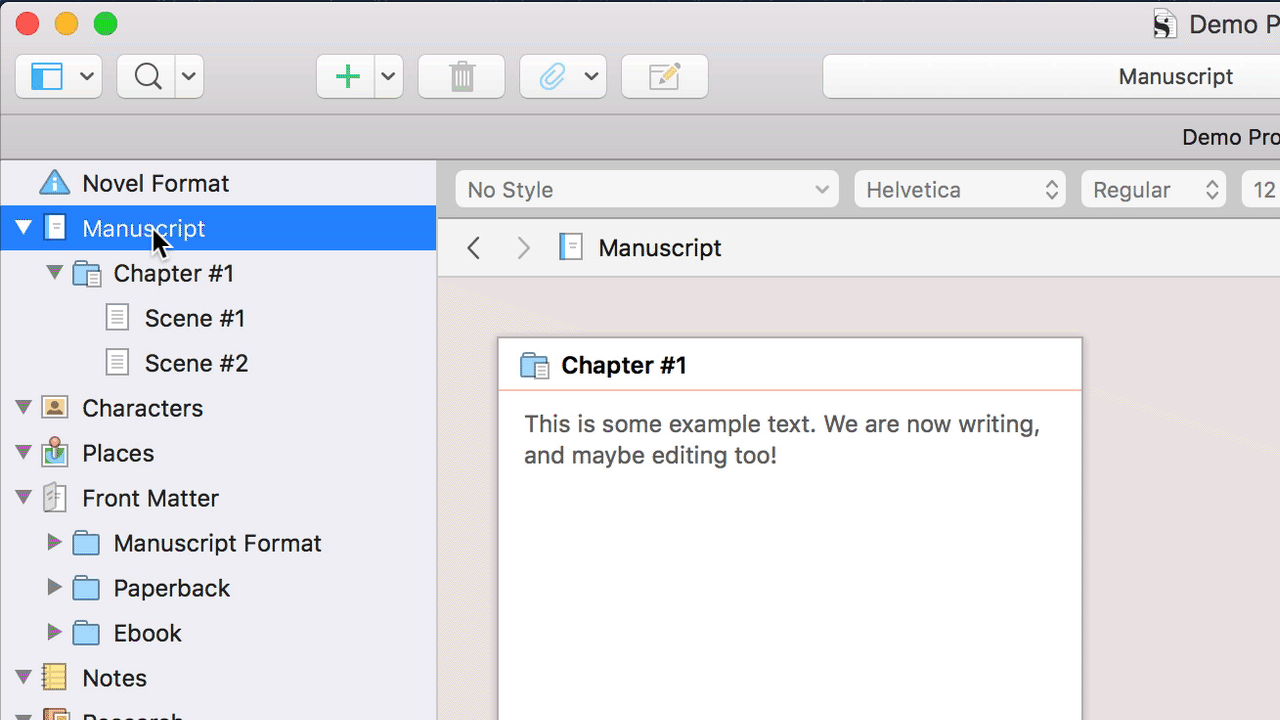
Below the Novel Format document, we have the Manuscript folder. This folder is one of three in the Novel Project template that cannot be deleted, as it is essential to certain other Scrivener features, such as compiling your project for export.
Though the Manuscript folder itself cannot be deleted, you can delete any sub-folders or documents you create inside of it. It’s only the alpha folder that you can’t ditch.
Even so, you can still rename this folder if you’d like to. To do so, simply double-click on the title of the folder, then type in your preferred name. You may wish to type in the name of your novel, for example.
#4: Exploring the Manuscript Folder
As you can see from our Manuscript folder here, every folder can house text documents and sub-folders. You can even house sub-folders within sub-folders, several layers deep. You must take care, however, when creating a new document or folder, to file it into the appropriate layer.
Let’s say you want to create a new sub-folder within the Manuscript folder: say a "Chapter #2" folder. First, you’ll need to highlight the Manuscript folder OR the first chapter by clicking on its icon once.
No matter which you click, Scrivener assumes that you simply want to house another sub-folder within the Manuscript folder, not an additional layer deep. Then, with an icon highlighted, you can add a new folder in one of three ways. Yes, three. Let’s quickly break them down...
#5: Creating New Documents & Folders
The first option we discussed in our introduction to the Scrivener Toolbar. With your Manuscript folder highlighted, simply click on the dropdown menu next to the Add icon, then select “new folder”. There you can see, a new sub-folder has appeared. (See the Gif above for a demonstration.)
Your next option is to right-click on either your Manuscript or chapter folder, then to go to Add > New Folder. Finally, you can highlight your Manuscript or chapter folder, then head down to the bottom of your Binder and click the New Folder icon here in the middle of this trio of icons.
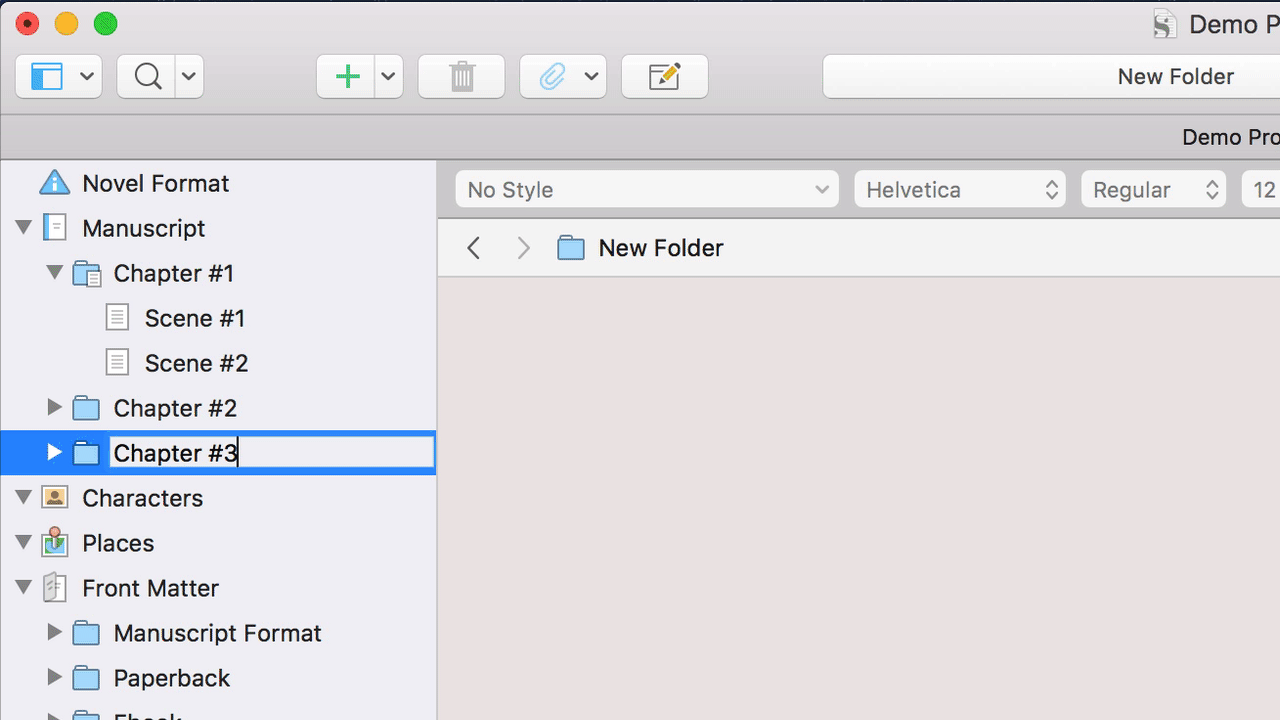
No matter which option you can choose, you’ve now created a new folder. To rename your new folder, simply double-click on its current name, New Folder, then type in your preferred name: say “Chapter #2”.
#6: Moving Documents & Folders Within the Binder
But let’s say you want to move your new folder into a different layer of your Scrivener Binder.
By clicking and holding the folder’s icon, you can now drag this sub-folder out of the Manuscript folder. As you drag, you’ll know you can release the folder icon when you see this blue line appear indicating where your file will be dropped.
Let’s say you want to house this folder as a sub-folder inside Chapter #1 instead. Simply click and hold its icon once again, then drag it under the Chapter #1 folder until you once again see that blue line. Notice how the width of the line also indicates the level at which your folder will land.
Clicking and dragging is one easy way to move your individual folder and documents through your project and the Binder in particularly. You may find this a little tricky at first, but watch for those blue lines and you’ll quickly grow accustomed to how the click-and-drag feature operates.
* Note: You can perform all of these functions we've discussed over the last several steps with an individual text document in place of a folder if you’d prefer. Simply make sure you create a new document instead of a new folder by clicking on the add icon, by right-clicking and selecting Add > New Document, or by clicking on the Add Document icon on the left at the bottom of your Binder.
#7: Utilizing the Research Folder
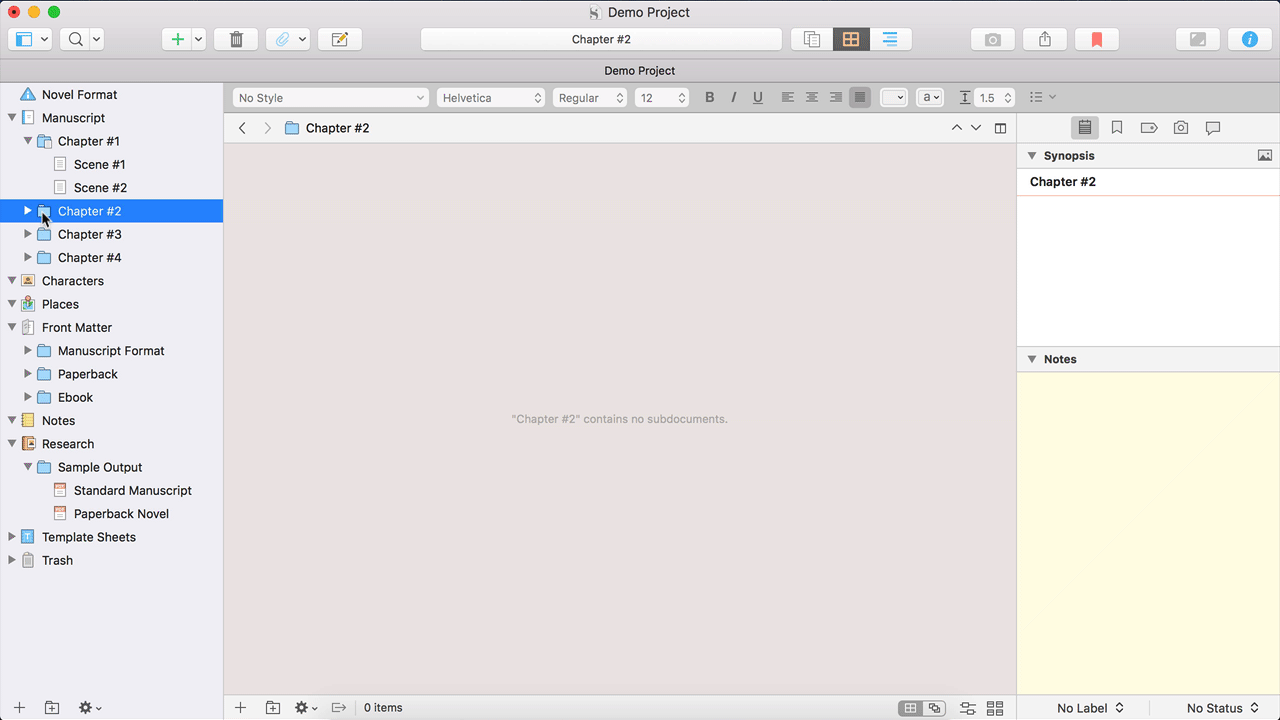
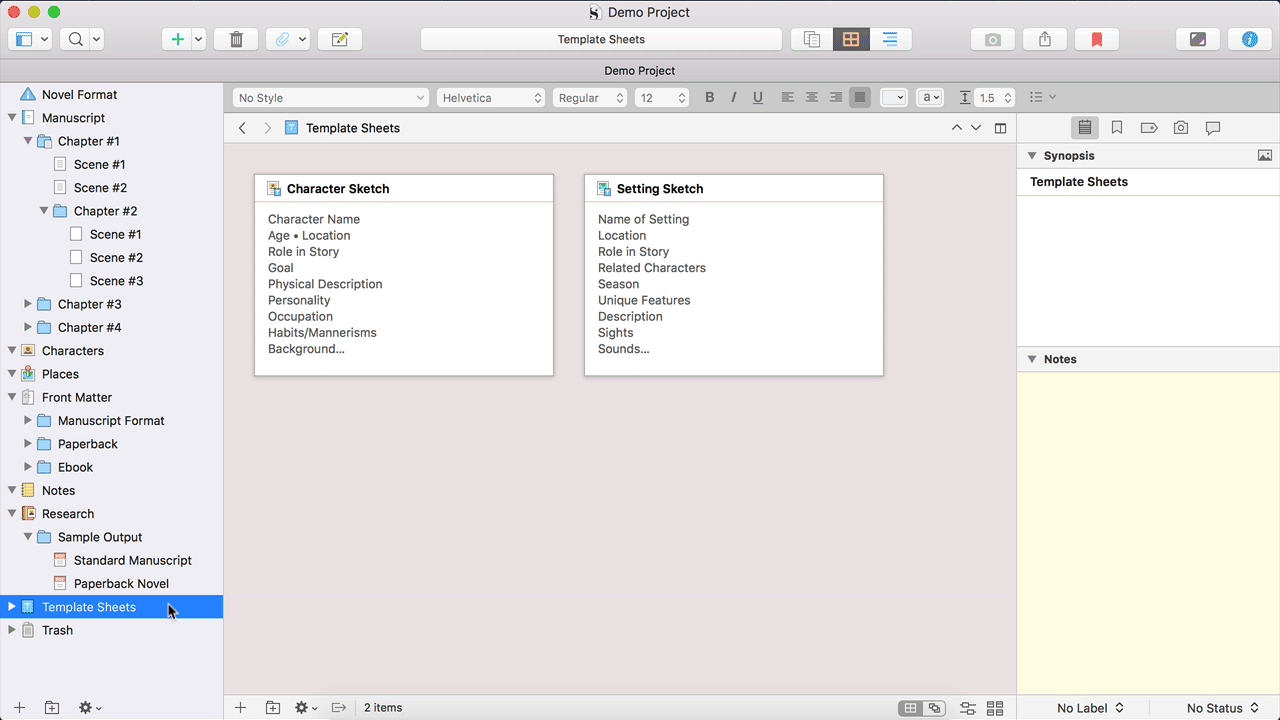
Now, as you can see, there are many other folders that come default in your Binder with the Novel Project Template, including the character folder, places, front matter, notes, and template sheets. Each of these folders we’ll discuss in the next video in our course, but know for now that they can be deleted if you’d like.
The two other folders I’d like to briefly discuss are Research and Trash. Both of these folders can be found in any project template you choose to utilize.
The Research folder is the second folder that cannot be deleted, though, like the Manuscript folder, it can be renamed. In this Research folder, however, is where you can not only create new documents to house personal research notes, but where you can import many different types of helpful resources, including images, webpages, and external files.
We’ll talk far more about all of this in another video lesson in our course on the Research folder.
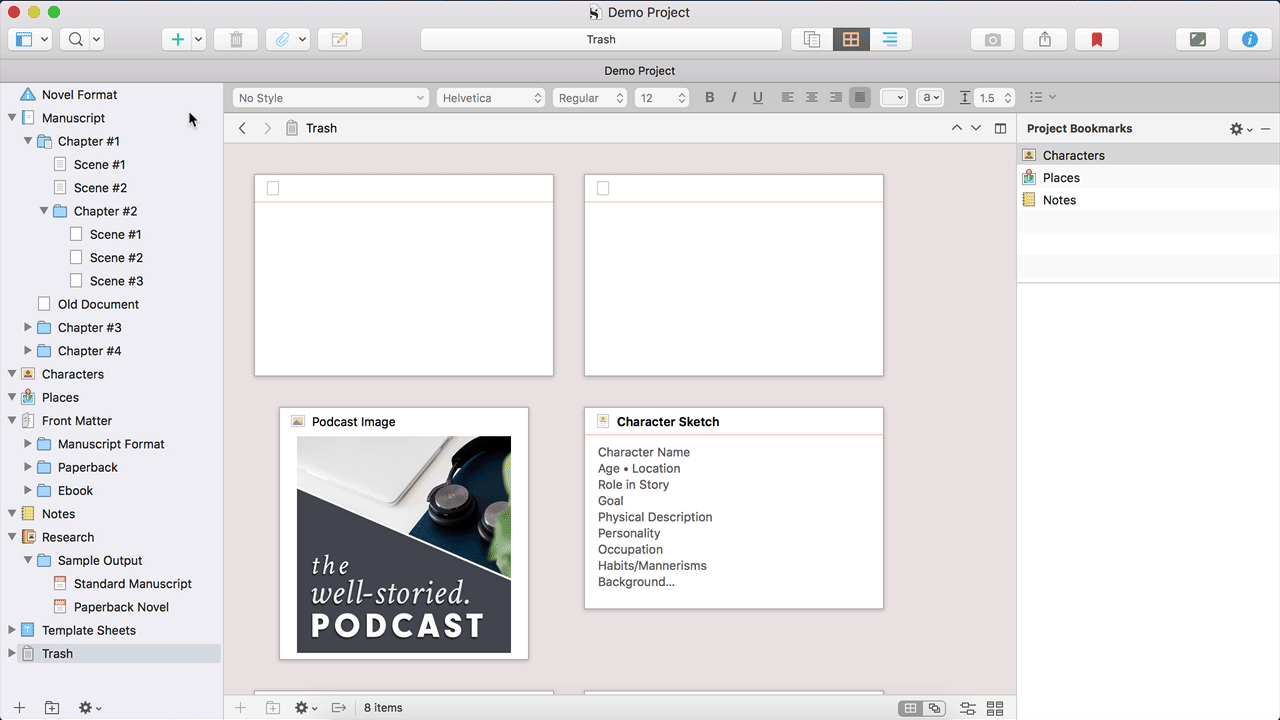
#8: Understanding the Trash Folder
Finally, let’s talk about trash. Every Scrivener project features a Trash folder, the third and final folder that cannot be deleted. Because where would it go? You’d have deleted the trash! In any case, any folders or documents that you delete from elsewhere in your Binder will end up in this trash folder.

You can access these files again at any time, even dragging them back into your regular Binder once again. To delete a document permanently, you can firstly click this arrow icon next to your Trash folder to open it within the Binder, then right-click on the document and press “delete.”
A window will pop up warning that this action cannot be reversed. If you truly want to delete the document for good, press okay. You can then close your Trash folder back up again by once more selecting the small arrow next to the trash can.
You can utilize this same arrow technique with any of the other folders in your Binder as well.
#9: Accessing Binder Settings & Functions
And voila! Just like that, we’ve broken down all of the basics of your Scrivener Binder. It’s not too complicated once you know what you’re doing, though I know it might look a little complicated at first. Just keep practicing, and maybe review this video again if you didn’t quite catch it all the first time around.
Before we move onto our next lesson, however, we need to talk about this third and final icon at the bottom of your Binder. This icon, when clicked brings up a menu featuring all the options, the same options as if you’d simply right-clicked on a particular folder or document up above.
To utilize this menu via the icon, however, you’ll want to first click to highlight the folder or document you’d like to alter. Then, you can select this icon and take action.
That’s everything for this lesson breaking down Binder basics. In the next lesson, we’ll dive further into the Binder, giving an overview of all of these folders and documents that are specific to the Novel Project template we selected to use during the first video lesson in our course. I can’t wait to see you then, writers!
Ready to purchase Scrivener?
Scrivener is available for Mac and Windows users for a one-time fee of $59.99 USD or a one-time fee of $23.99 for iOS (ex: iPad, iPhone, iPod Touch). You can also take advantage of their amazing free trial, which doesn’t expire for 30 working days.
* These are affiliate links, meaning I’ll earn commission on sales made through these links at no extra cost to you. Thank you for supporting Well-Storied!